Updated: October 31, 2025
Overview
In LITTLE HELP CONNECT, you can automatically switch from a “grayed-out” Rich Menu to an “active” Rich Menu based on any trigger condition.
This setup allows you to:
-
Show a grayed-out menu to users who have not yet completed a registration or action
-
Display an active menu to users who have completed the process
In this article, we’ll walk you through how to switch Rich Menus when a HubSpot form submission occurs.
💡 We recommend using HubSpot Professional or higher plans to enable the workflow automation required for this setup.
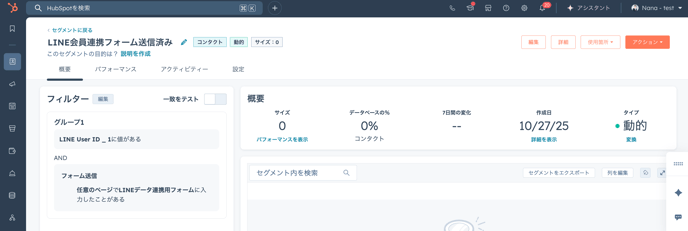
Step 1: Create a “Form Submitted” List in HubSpot
-
Go to HubSpot > Contacts > Lists.
-
Click Create list, then choose Contact-based list.
-
Set the condition as follows:
- Example: “Form name = Registration form” → is submitted
🧩 Tip:
Create a dynamic list, so that it automatically updates when users submit the form.
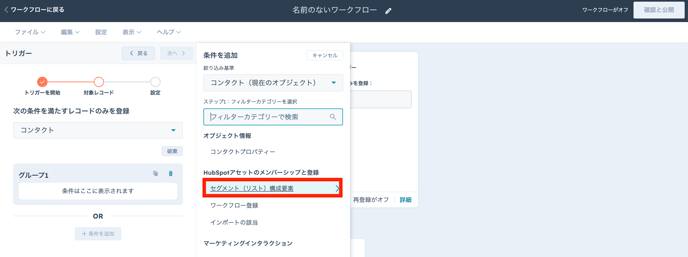
Step 2: Create a Workflow in HubSpot
-
Go to HubSpot > Automation > Workflows.
-
Select Contact-based workflow.
-
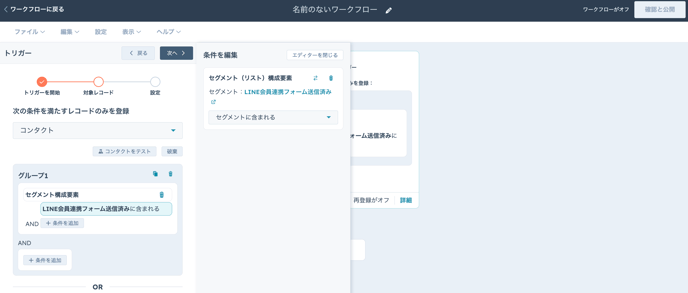
Set the trigger to “When the contact meets filter criteria” → choose the list created in Step 1.
-
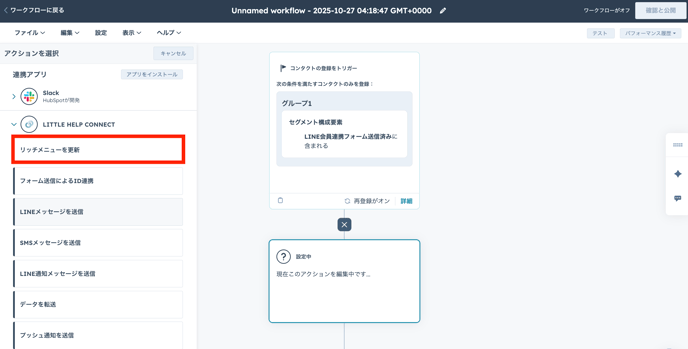
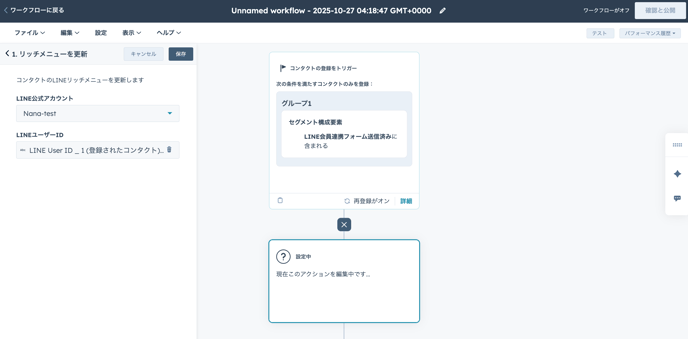
Add the action LITTLE HELP CONNECT > Update Rich Menu.
-
Specify the LINE Official Account and LINE User ID in the settings.
-
Click the orange “Turn on” button at the top right to activate the workflow.
⚙️ Once configured, the Rich Menu will automatically switch immediately after the form submission.
Step 3: Create Two Rich Menus in LITTLE HELP CONNECT
-
Navigate to TOP > Connections > LINE Official Account > [Target Account] > Menu.
-
Click Create Rich Menu.
-
Create the following two menus:
| Menu Name | Target List | Priority | Image Example |
|---|---|---|---|
| Active Menu | Form submitted list | 1 | Active Rich Menu image |
| Grayed-Out Menu | List not specified (ON) | 2 | Grayed-out Rich Menu image |
⚙️ The smaller number has higher priority.
📏 Recommended image size: 2500×843px or 2500×1686px (up to 1MB).
Step 4: Assign Lists to Each Rich Menu
-
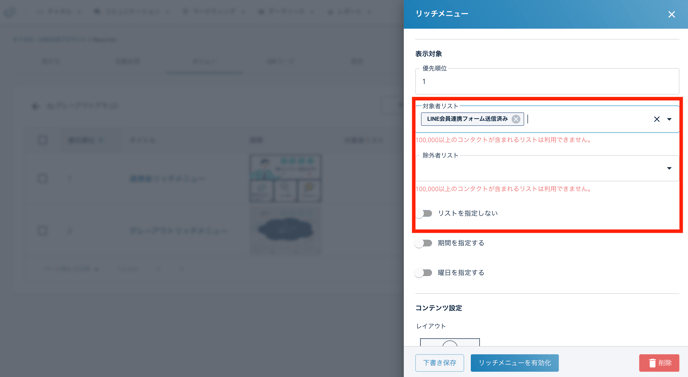
Open the Display Target settings for each menu.
-
For the Grayed-Out Menu, set “List not specified (ON)” (default).
-
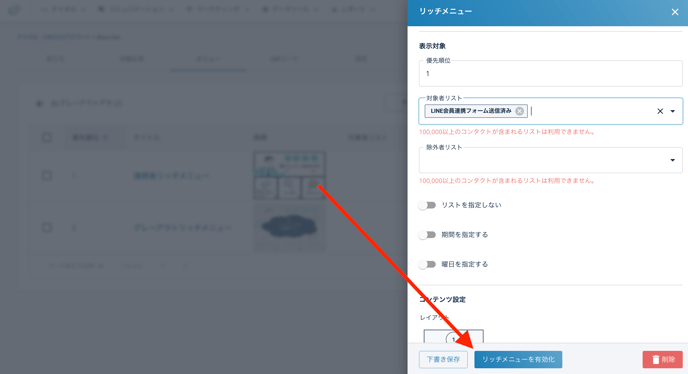
For the Active Menu, set “List not specified (OFF)”, and select your form submission list (e.g., “LINE Registration Form Submitted”).
Step 5: Apply and Test the Rich Menus
-
Change the status of both menus to Active.
-
Click Apply Rich Menu in the upper-right corner of the screen.
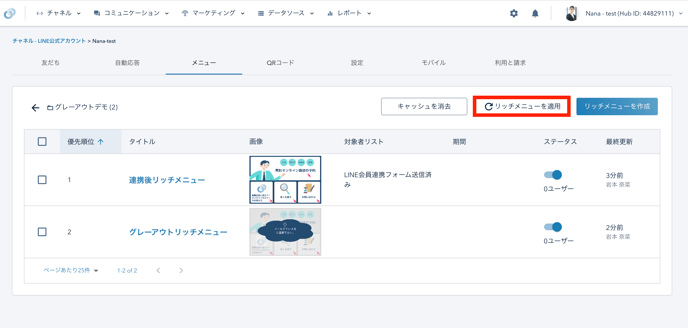
⚠️ Do not click the Apply button repeatedly — please wait for the process to complete.
Once applied, test the flow as follows:
-
Add your LINE account as a friend.
-
Before submitting the form → the grayed-out menu appears.
-
After submitting the form → the active menu replaces it automatically via workflow.
⌛ It may take 1–3 minutes for the menu to switch after form submission.